iPhone Image to PDF Converter: How to Convert Photos Free
You have a photo of a receipt, signed form, or homework on your iPhone and need a PDF. Learn how to convert photos using built-in iOS tools or a private browser tool with zero uploads.
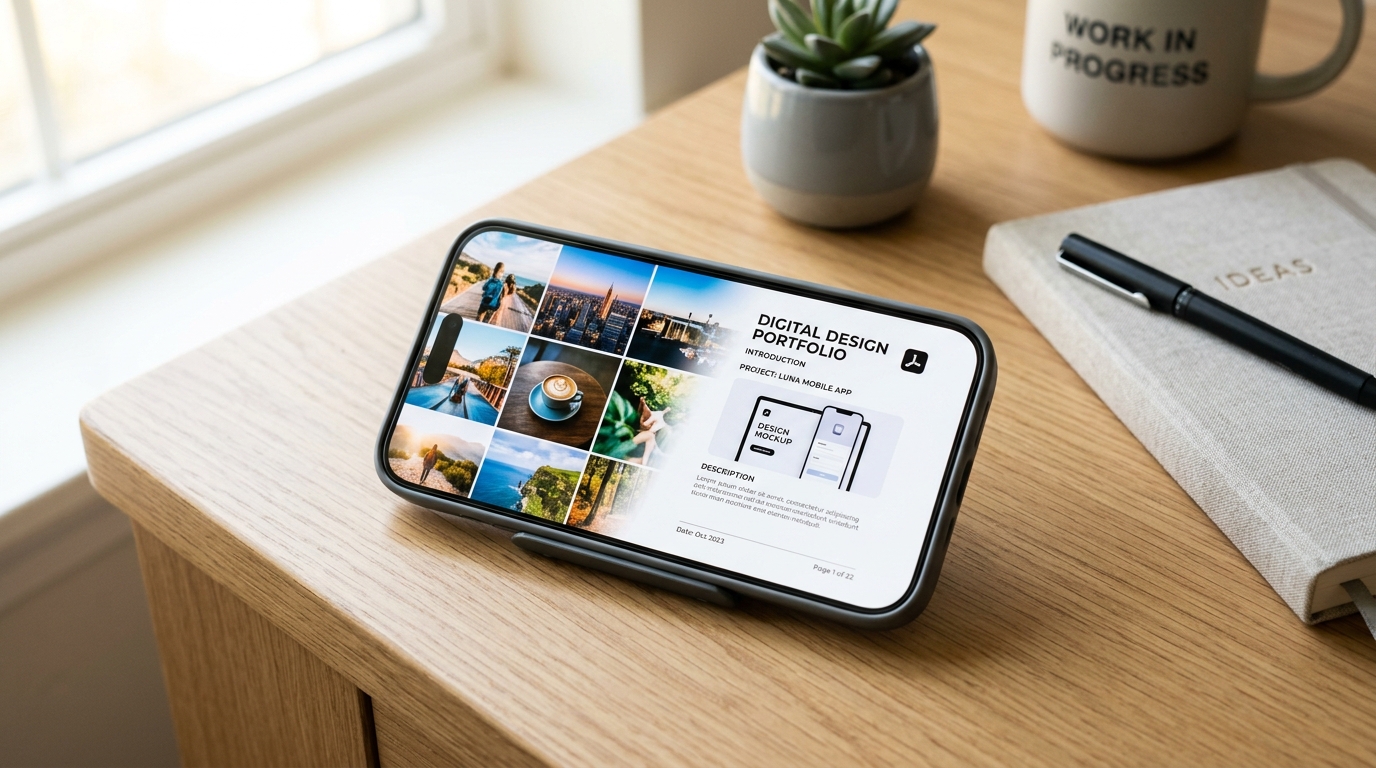
You have a photo of a receipt, a signed form, or a stack of homework pages on your iPhone, and someone wants a PDF. You don't want to install another app or hand a sensitive document to a random website. The good news is that an iPhone image to PDF converter is already built into your phone, and you can also use a free browser tool.
The fastest built-in method is the Photos app. Select your images, tap Share, choose Print, then pinch out on the preview and save the result as a PDF. The Files app and Notes scanner work too, and they handle multiple pages better. If you want more control over page order and size, a browser-based converter does the job with no account and no app download.
This guide walks through each method step by step, so you can pick the one that fits your situation. You will see how to combine several photos into one file, how to keep quality high, and when to use PixForgeStudio's image to PDF tool. It runs in your browser, so your files never leave your iPhone.
What to know before you convert
Three quick checks save you from redoing the job. Spend a minute on them before you pick a method.
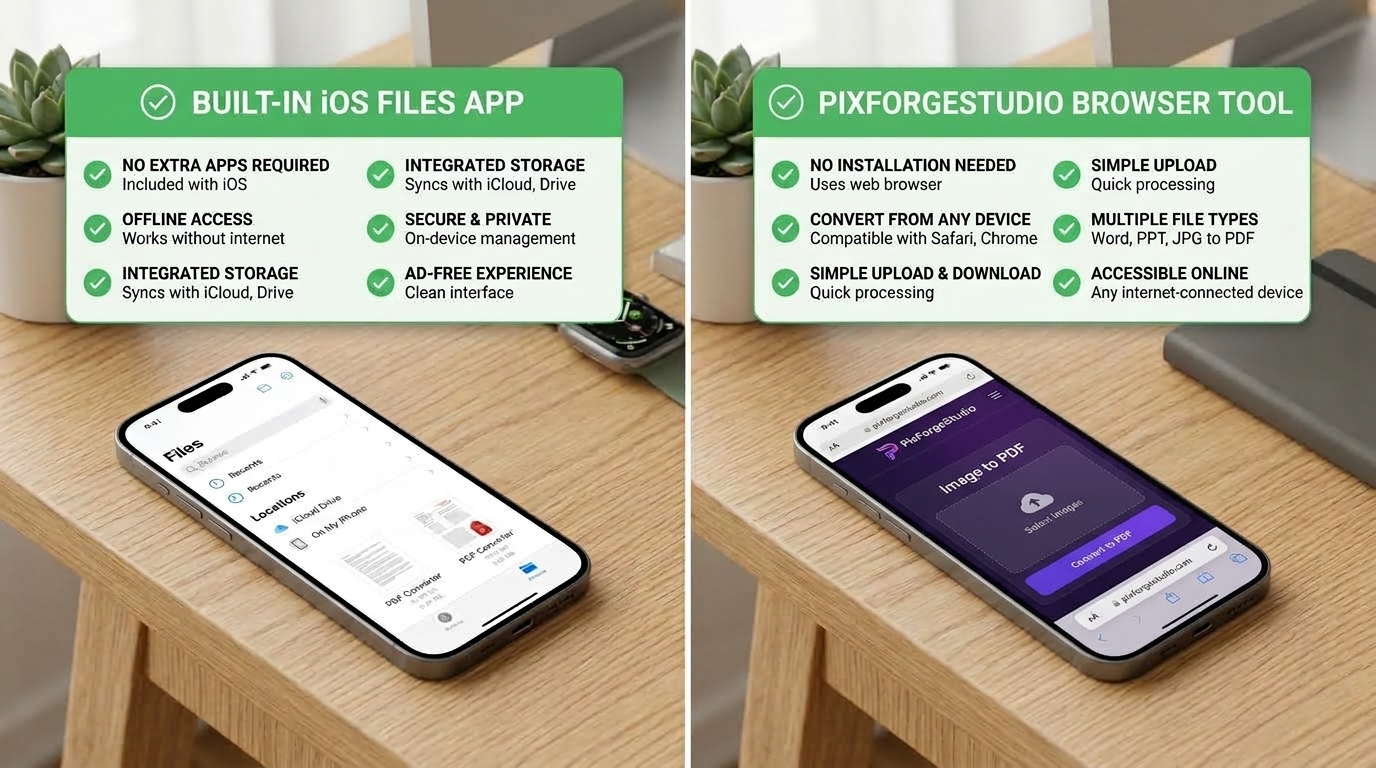
Check your photo format and orientation
Newer iPhones shoot in HEIC by default. The built-in methods in this guide read HEIC files without trouble, so you rarely need to change anything. If a website or app rejects the photo, open Settings, tap Camera, then Formats, and choose Most Compatible to shoot JPEG from now on, or change the image format afterward.
Orientation matters more. A PDF preserves every flaw in the photo, including tilted edges, dark corners, and stray fingers. So crop and rotate in Photos first. Tap Edit, then the crop icon, and straighten the page before you convert anything.
“A PDF keeps every flaw in your photo, so fix the crop and rotation before you convert.”
Match the method to your job
Different jobs call for different tools, and the table below shows where each one fits. Use it to skip straight to the right step in this guide.
| Method | Best for | Multiple photos | Page order control |
|---|---|---|---|
| Files app | Fast, one-tap PDFs | Yes | Limited |
| Print from Photos | One photo or a few | Yes | Follows your selection |
| Notes scanner | Paper documents | Yes | Reorder in the scan view |
| Browser tool (PixForgeStudio) | Custom order and page size | Yes | Full |
If you only need one photo as a PDF, any method works. If you are building a multi-page file, such as a signed contract with an ID copy attached, pick one where you can check the order before saving.
Think about privacy and file size
Many free converters upload your images to a remote server, then send the PDF back. That is fine for a vacation photo. It is a poor idea for a lease, a bank statement, or a medical record. Built-in iPhone tools keep everything on the device. A browser tool that processes files locally, like the one covered in Step 3, gives you the same safety with more control.
Size is the other surprise. A modern iPhone photo often weighs 2 to 4 MB, so a dozen images can pass 25 MB, which is Gmail's attachment limit. If you plan to email the PDF or upload it to a school or government portal, check the size limit first. Then compress the file if needed. Step 4 covers how to shrink it without making text unreadable.
- Crop and rotate every photo in the Photos app.
- Select the images in the order you want the pages to appear.
- Check the upload or email size limit for the PDF.
- Decide whether the document is sensitive enough to avoid upload-based sites.
1Step 1. Use the Files app to create a PDF
The Files app is the closest thing to a one-tap iPhone image to PDF converter that Apple ships. It works on iOS 15 and later, and it accepts HEIC, JPEG, and PNG images. The catch is that your pictures must be saved in Files, not only in Photos.
Save your photos to Files
Start in Photos, because Files cannot see your camera roll directly. Moving the images takes about ten seconds, and a dedicated folder keeps the job tidy.
- 1Open Photos and select the images you want.
- 2Tap Share, then Save to Files.
- 3Choose On My iPhone or iCloud Drive, tap New Folder, and name it something like "Lease PDF".
- 4Tap Save.
Turn the images into a PDF
Now switch to Files and open the folder you just made. Tap the three-dot menu in the top right, choose Select, and tap each image you want included. Then tap the More button (three dots) at the bottom right and choose Create PDF.
Files saves the new PDF in the same folder. It takes its name from the first image, so touch and hold the file and tap Rename to give it something useful. For a multi-page file, page order is the part people get wrong. Files builds pages in the order it sorts your images, not the order you tapped them.
“Files builds pages in sorted order, so name your images 01, 02, 03 before you create the PDF.”
Rename the photos first, or set the sort to Name from the folder's menu. Then open the PDF and swipe through it to confirm every page is upright and in sequence.
Know the limits
This method is fast, but it is basic. You cannot choose a page size, add margins, or drag pages around before saving. Each image becomes a page sized to the photo itself, so a tall screenshot makes a tall page. If you need a standard Letter or A4 layout, skip ahead to Step 3. For a quick single-photo PDF, though, Files is hard to beat.
2Step 2. Save a photo as PDF with Print
Print is the trick most people never find, and you don't need a printer. The Print screen hides a PDF preview, which lets you save a photo as PDF straight from the Photos app. It works on recent versions of iOS and needs no extra download.
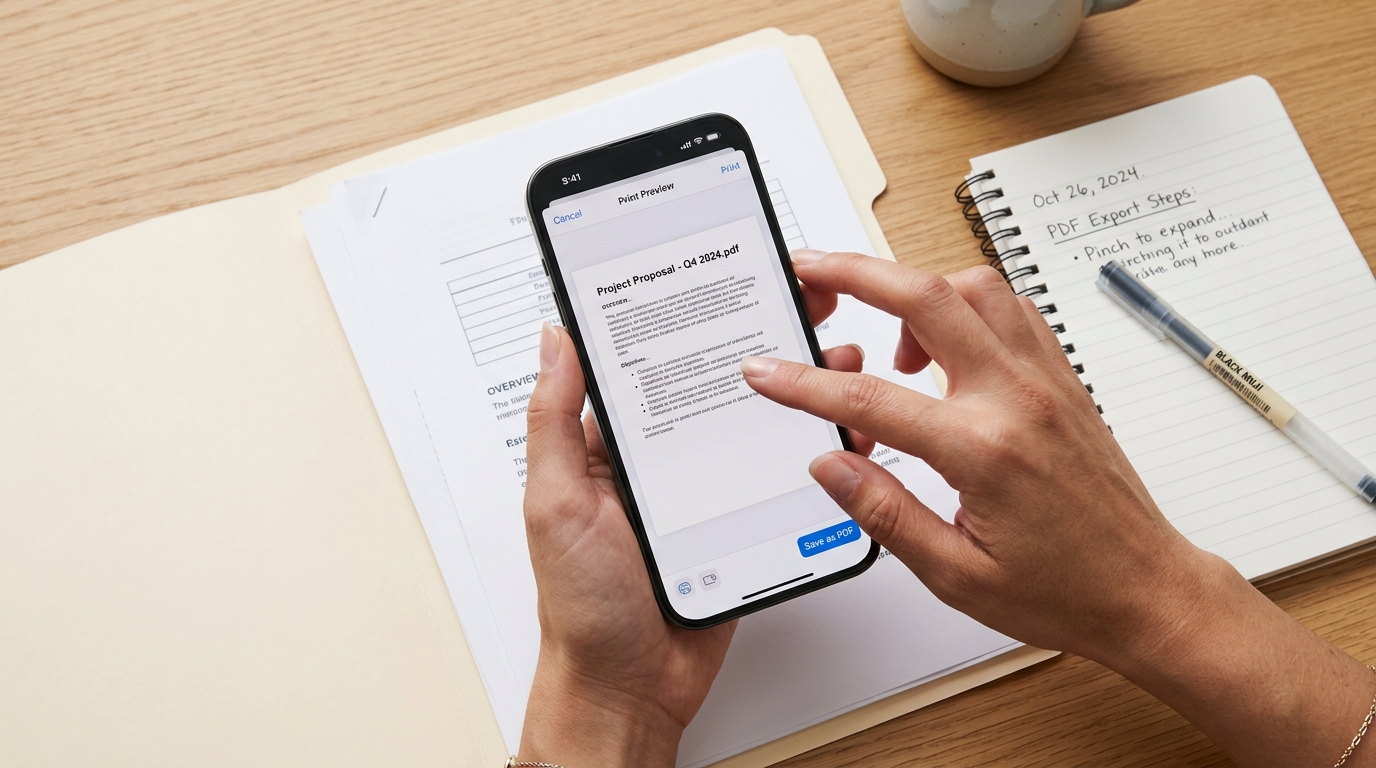
Run the Print trick
Select one photo or several in Photos, tap Share, and then follow these steps:
- 1Scroll down the share sheet and tap Print.
- 2Ignore the printer settings on the Print Options screen.
- 3Pinch out with two fingers on the page preview to open it full screen.
- 4Tap the Share icon in the top right corner.
- 5Choose Save to Files, pick a folder, and tap Save.
Each photo becomes one page, and the pages follow the order you selected them in. Swipe through the preview before you save, because fixing the order afterward means starting over or having to rearrange the PDF pages.
“The Print screen is a PDF maker in disguise: pinch out on the preview, then share it as a file.”
Know what you get
Pages come out at a standard paper size, so your photo sits on a Letter-size page with margins instead of a page cut to the photo's shape. That looks cleaner than the Files app result, and it prints well. It also means a narrow screenshot will leave a lot of white space.
Print has limits. You can't drag pages around, add a page later, or set margins yourself. Large batches also make the preview sluggish, so if you have more than about ten photos, switch to the browser method in Step 3. For a signed form or a single receipt, though, this takes about fifteen seconds, and you can also add a signature to a PDF in the browser.
3Step 3. Convert images in your browser for free
When Files and Print feel too limited, a browser tool fills the gap, and a set of free PDF tools that run in your browser covers the rest of the job. You get control over page order and size, and you install nothing. It also behaves the same on any iPhone, whatever iOS version you run.
Convert photos in Safari
PixForgeStudio's image to PDF tool works as a free iPhone image to PDF converter inside Safari. It handles JPG to PDF on iPhone, and PNG screenshots too. Your browser does the conversion with JavaScript and WebAssembly, so no sign-up is needed. Follow these steps:
- 1Open pixforgestudio.com image to PDF tool in Safari.
- 2Tap the upload area, then choose Photo Library or Choose Files.
- 3Select your photos, adding them in the page order you want.
- 4Pick a page size such as Letter or A4, and check the order.
- 5Tap Convert, then Download.
Safari saves the PDF to the Downloads folder in the Files app. Open it and swipe through every page before you send it anywhere.
Check that your files stay on your phone
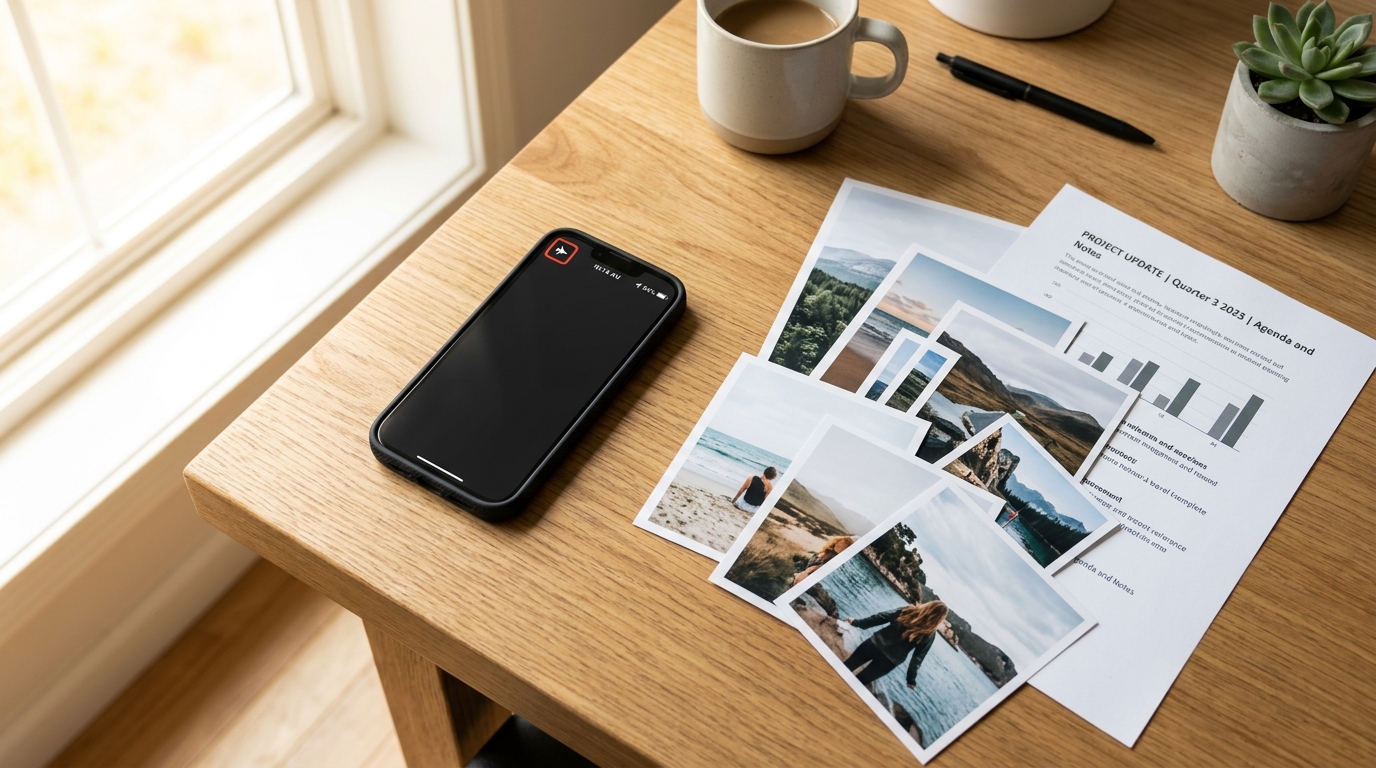
Privacy is the main reason to choose this route over the typical upload-based site. Here, the images are processed locally, so nothing is sent to a server. You can test that yourself. Load the page, switch on Airplane mode, and run a conversion.
“If a converter still works in Airplane mode, it is not uploading your files.”
That test is worth doing for a lease, an ID copy, or a medical form. Local processing is also fast, since you skip the upload and download wait. A batch of ten photos finishes in seconds on a recent iPhone, though very large batches can slow an older device. If that happens, convert in two smaller groups and merge the PDFs afterward, which Step 4 explains.
4Step 4. Combine photos and fix common problems
Most trouble shows up once you have a PDF and a deadline. This step covers merging pages and the five problems people hit most often.
Combine photos into one PDF
The simplest way to combine photos into one PDF is to select every image before you convert. Every method above takes multiple selections, so do it in one pass. Already have two separate PDFs? Open PixForgeStudio's tool to combine PDFs in Safari, add both files in order, and download one merged file. Nothing uploads, so it is safe for sensitive paperwork.
“Select every photo in order before you convert, because merging later costs you extra steps.”
Fix the usual problems
Check this table first when a PDF looks wrong. Each fix takes under a minute.
| Problem | Fix |
|---|---|
| Pages in the wrong order | Rename photos 01, 02, 03, or reselect them in order |
| Sideways pages | Rotate in Photos, then convert again |
| Blurry text | Retake near a window, with the phone parallel to the page |
| Converter rejects the photo | Switch Camera Formats to Most Compatible |
| File too large to send | Compress it, as shown below |
Blurry text is the one you can't repair afterward. Retaking the photo beats any editing trick.
Shrink a PDF that is too big
Compression is the last stop for oversized files. Open PixForgeStudio's tool to reduce PDF file size in Safari, choose your PDF, and pick a medium setting. Then zoom to 100 percent and read a few lines of small print. If the text stays sharp, send it. If it turns fuzzy, step back to a lighter setting. A dozen phone photos usually drop well under email limits this way, and your original photos stay untouched in the Photos app.
Pick the method that fits your photos
You have four solid ways to turn photos into a PDF, and none of them cost a cent. Files gives you a quick one-tap result, Print gives you clean Letter-size pages, and the Notes scanner suits paper documents. When you need full control over order and page size, a browser tool is the better iPhone image to PDF converter.
Whatever you choose, the prep matters more than the tool. Crop and rotate first, select photos in order, and check the file size before you send. For anything sensitive, keep processing on your device so the document never touches a stranger's server.
Ready to try it? Open the free tool that converts JPG and PNG images to PDF in Safari, add your photos, and get a finished PDF in under a minute. There is no account and no upload, and you have no app to install.
Convert Images to PDF Now
Fast, free, and 100% private in-browser conversion with custom page sizing.
Explore All 140+ Free Tools
PixForgeStudio offers 140+ free browser-based tools: PDF editor & viewer, image compressor, video trimmer, audio transcriber, converters, and calculators. 100% private — zero file uploads.
Browse All Tools